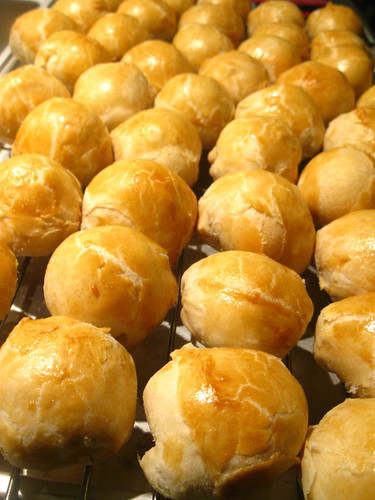
We welcomed our little one early this month and I must say, motherhood needs some getting used to! This is probably something I won't have time to do for the time being but I have had this craving for the Penang tau sar piah since when I went back to Singapore last July and I finally got some from Sylvia in a yummy package she sent to me with goodies from Malaysia when her hubby went back recently. I could have eaten them all in a day but restrained myself to spread them out over a week. They came to an end eventually and the only thing I could do is to finally try them out, as it was also one of my resolution for this year and good that I tried making them before the little one came along! I didn't have any recipe of my own and followed the one from
My Kitchen Snippets, so all credit to her. However, after making it I came to a few conclusions:
1) It's definitely worth it to pay for those good brands of this biscuit because it takes quite a lot of work.
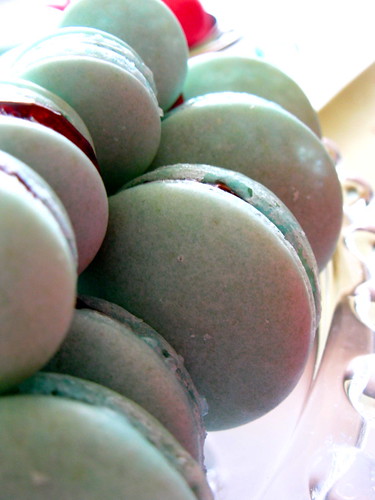
2) It's not going to be as good as those famous brands but it suffices as a craving when you are overseas and not able to buy it readily.
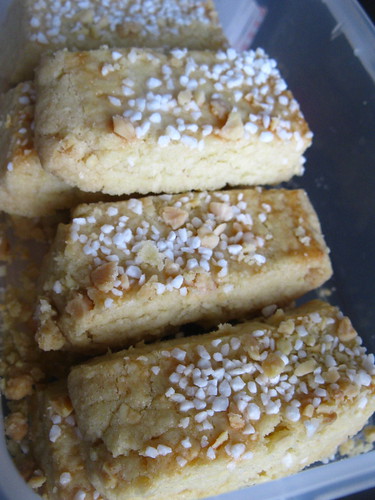
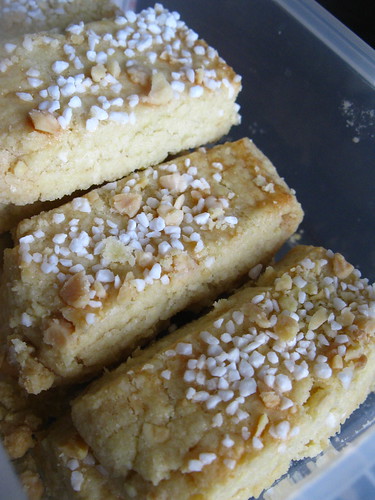
3) Some people like it freshly baked, but I find it was better after sitting in a container for a day or two.
4) The bean paste filling needs a really good balance of seasoning, otherwise it will just taste strange. Having said that, I hope there is another way to make this filling next time so it doesn't taste as dry, be more savory and doesn't remind one of it being a green bean paste so much.
You can follow her blog which comes with detailed instructions and pictures, the following are my observations while making them.
Ingredients
Oil Dough
175 gram Flour
100 ml vegetable oil
Oil & Water Dough
345 gram Flour
180 ml vegetable oil
135 ml water
¾ teaspoon vinegar
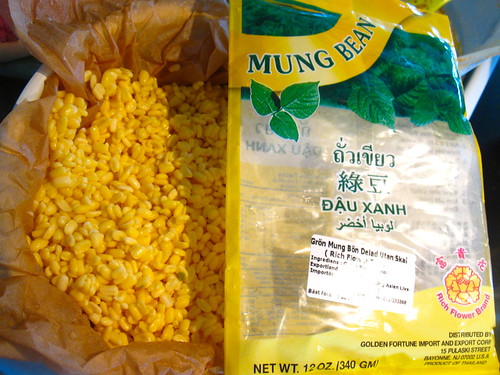
Mung Bean Paste:
50 ml vegetable oil
2 shallots - thinly sliced
150 gram sugar
1 1/2 teaspoon salt
1 1/2 teaspoon white pepper
400 gram dried mung beans
Steps
- Wash the mung beans a few times and let it soak for at least 4 hours or overnight. Drain and steam it for 30 minutes or until soft. (I took about 6-7 tablespoons out to try making tau saun separately this time round)
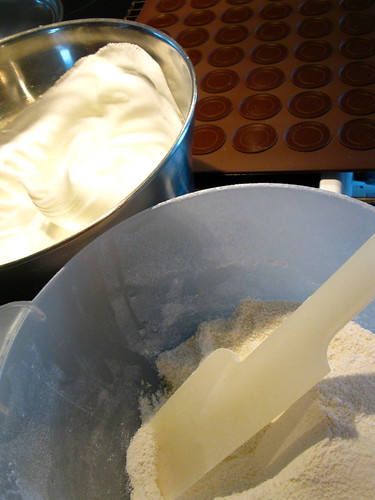
- While steaming, prepare the oil dough and the oil & water dough, cover and let it rest in separate bowls for at least 30 minutes.
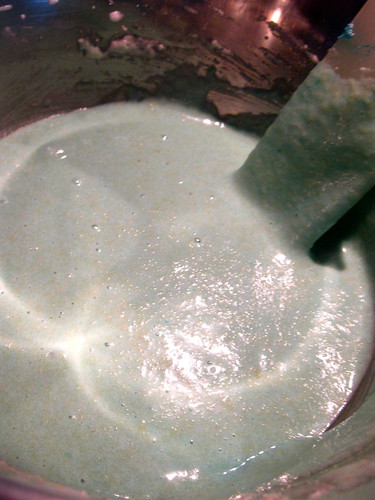
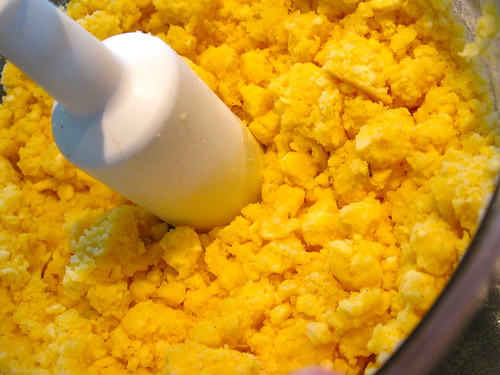
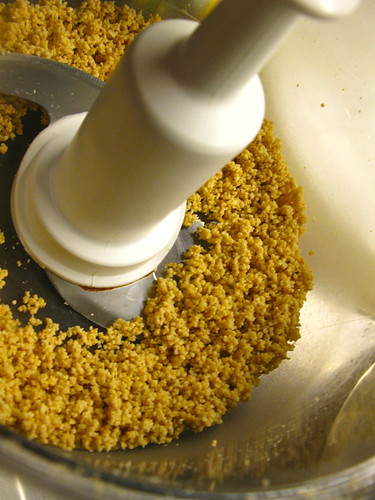
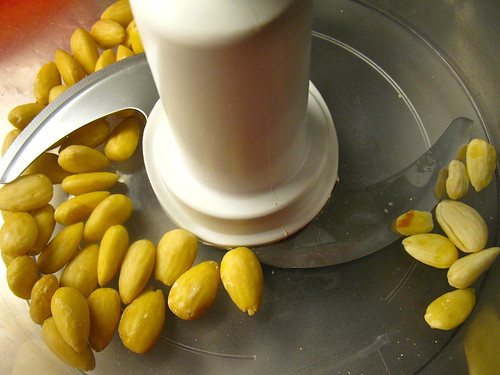
- Let the mung beans cool a bit before blitzing it it briefly in a food processor together with the sugar.
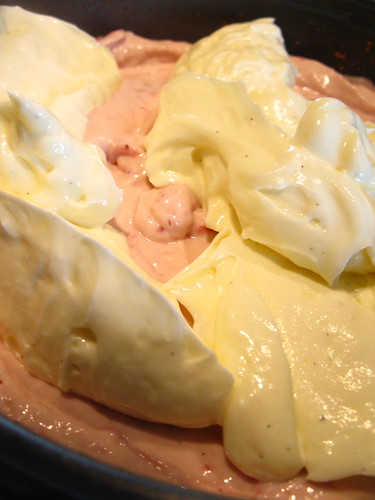
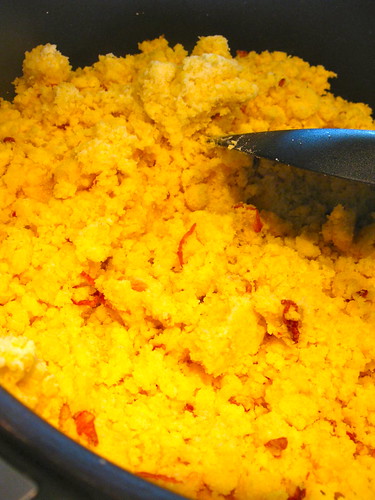
- Heat up the oil in a pan and fry the shallots until slightly brown before adding in the processed mung beans and add the rest of the seasonings, adjusting it where necessary.
- Don't fry it too long but you should be able to form firm balls about 9-10g each. If it gets too dry to hold well together, add some water. I formed about 60 balls of fillings.
- Divide the doughs each into 60 portions. I weigh each dough and divide each weight by 60 so I get a roughly equal amount of dough.
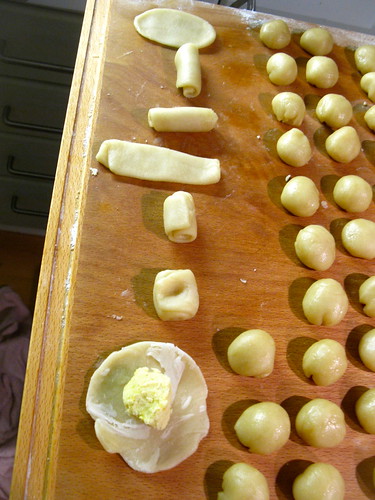
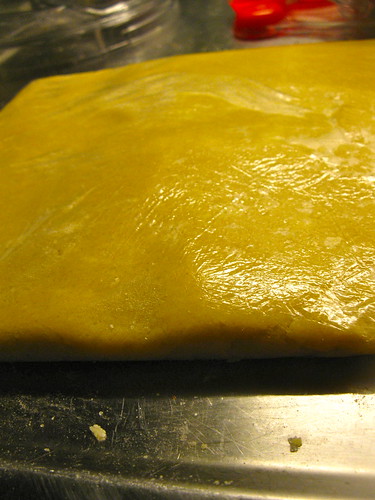
- Flatten the oil & water dough, using it to envelope the oil dough, forming a ball.
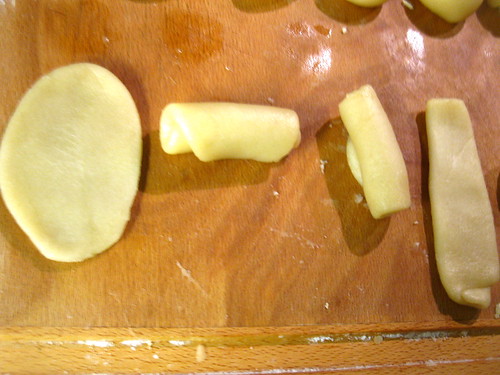
- Using a rolling pin, flatten the mixed dough ball once, then roll it up like a Swiss roll, and flatten it one more time . Roll it up again like a Swiss roll, pinch in the sides and roll it out into a rough round shape to place the prepared filling on (you might get some kind of thin 'skin' at this point of time when you roll out the dough but it's normal and not a mistake).
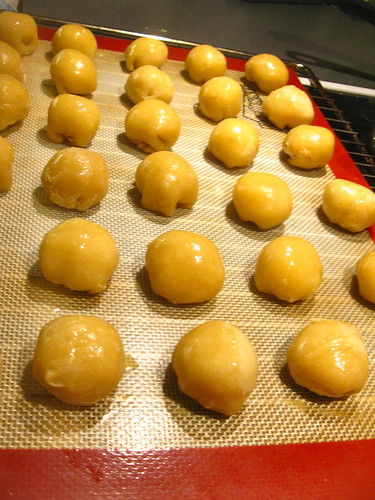
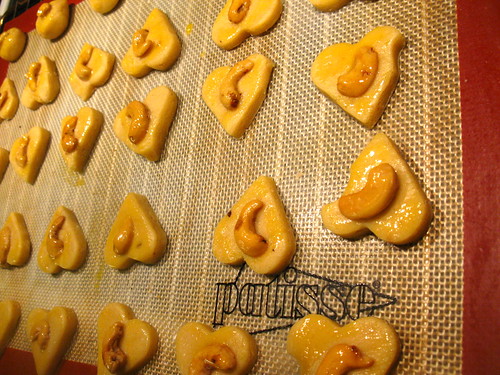
- Beat up one egg and use it to help seal the edges, resting the biscuit on a baking sheet on its sealed edge.
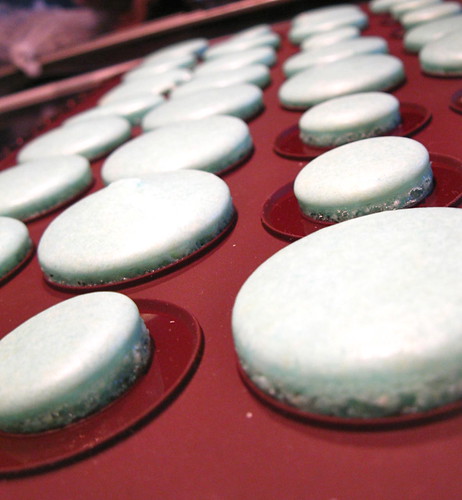
- Egg wash the top of the biscuits and bake it at 190°C for 15-20 minutes or until golden brown.
- Let it cool completely before storing it in an airtight container.