Monday, October 31, 2011

Fried Mee Siam

Fried Mee Siam Singlish Swenglish

When we had gatherings in Singapore, I remember a friend brought this dish from a famous stall in Bedok. I never got to find out which one it was but when we had some fresh bean sprouts and I didn't feel like making the normal fried bee hoon, this was the dish I made. I think I took a bit of tips here and there from online recipes and put together this version that made enough for two. Of course, I'm the 'two' person that's eating it because it's not Johan's favorite.

Ingredients
1 panel of dried vermicelli (enough for two portions), blanched in hot water and drained
A handful of fresh bean sprouts
A handful of dried shrimps
1 shallot
1 garlic clove
2 chili padi
1.5 tablespoon bean paste
Chicken bullion powder to taste

Fried Mee Siam Singlish Swenglish

Steps
  1. Blend the shallot, garlic, dried shrimps, chilli and bean paste until there are no large bits.

    Fried Mee Siam Singlish Swenglish
  2. Heat up about 1 tablespoon cooking oil over medium heat and fry the mix until it is fragrant. It should turn a bit dark like dried shrimp paste.

    Fried Mee Siam Singlish Swenglish
  3. Add the vermicelli and beansprouts in and mix well. Add a little water and chicken bullion powder to taste. Serve hot:)

    Fried Dry Mee Siam Singlish Swenglish

Friday, October 28, 2011

Steamed Malay Sponge Cake/MalaiGao - 马来糕

Singlish Swenglish Steamed Sponge Cake/Malay Cake 马来糕

Continuing with steamed cake cravings, this is one of my breakfast favorite in Singapore when I was working. It goes really well with a cup of tea. My Dad likes it too and when I told him about making it, the first thing he asked was if Johan likes it too. See! Father-in-law always end up doting son-in-laws :P
This recipe is taken from Alex Goh's Baking Code. It didn't come out as 'pretty' as my steamed egg cake as this cake rises more and my steaming pot has a flat cover and did not allow proper rising. My cake ended up sinking in the middle and did not manage to cook properly, so I salvage the sides which were still good. I might try to halve the recipe next time if I am using the same steamer.

Ingredients
5 eggs
140g brown sugar
140g sugar
1/4 teaspoon salt
1 teaspoon vanilla essence
1/4 teaspoon baking soda
120g evaporated milk
260g plain flour
1 tablespoon baking powder
80g corn oil

Singlish Swenglish Steamed Sponge Cake/Malay Cake 马来糕

Steps
  1. Whip the eggs, both sugar and salt together until the sugar has dissolved and the mixture slightly thickened.
  2. Add in vanilla essence, baking soda and evaporated milk in the batter until well-mixed.

    Singlish Swenglish Steamed Sponge Cake/Malay Cake 马来糕

  3. Next, sieve in the flour and baking powder until well-blended, then the corn oil last until combined.

    Singlish Swenglish Steamed Sponge Cake/Malay Cake 马来糕
  4. Pour into a steamer lined with baking paper or a recommended 20cm square mould and steamed for 35 minutes or until the middle is set. Let it cool before cutting.

    Singlish Swenglish Steamed Sponge Cake/Malay Cake 马来糕

Monday, October 24, 2011

鸡蛋糕 Steamed Egg Cake

Singlish Swenglish 鸡蛋糕 Steamed Egg Cake

My recent craving came from memories of helping my Mom make this cake when we were young. This egg needs to be beaten well and we didn't own any electronic beater so it was all manual and boy does it train your arm and wrist power!  Being in a typical Chinese family in Asia, we also didn't own any oven and it was actually a dream of mine for many, many years. It finally came through when I got one of my own when I was 24 or 25, which I passed it to my sister when I moved to Sweden. I finally got a nice big oven when we move to the current apartment, so I'm always grateful for the baking experiments I can do with it.

Coming back to this, you don't need a oven but a steamer - which ironically is not so easy to set up in Sweden. My equipment for steaming is a plastic steamer that came with the rice cooker, a deep pot used for cooking spaghetti and a metal stand which I brought from Singapore. It works well for this cake which doesn't rise that much, but not so good for the steamed Malay cake which I will be posting up soon. So if you have a steamer, make sure you have plenty of space for the cake to rise and it helps to have a pot with a concave cover. And the cute thing about this cake is the use of soft drinks to help it rise.

I adapted the recipe from The Little Teochew's blog as it's not easy to find cake flour here in Sweden, so I used a combination of plain flour and corn flour. 

And Mom, this is dedicated to you and I hope I will be as great a Mom as you have been for us. I miss you...

Ingredients
4 large eggs
210g castor sugar
200g plain flour plus 30g corn flour (sieve 2-3 times)
1 teaspoon of vanilla extract
6 tablespoon cream soda/sprite/orange soda
Singlish Swenglish 鸡蛋糕 Steamed Egg Cake

Steps
  1. Beat the egg with an electronic beater until frothy, then add the sugar in bit by bit until the batter becomes thick and creamy and mix in the vanilla extract towards the end.

    Singlish Swenglish 鸡蛋糕 Steamed Egg Cake

    Singlish Swenglish 鸡蛋糕 Steamed Egg Cake
  2. Fold in the flour mixture in three additions and alternate it with 3 additions of the soda, making sure there are no lumps of flour.

    Singlish Swenglish 鸡蛋糕 Steamed Egg Cake
  3. Heat up the steamer over medium heat. Meanwhile, slightly wet and scrunch up a large sheet of baking paper so you can lay it easily over the plastic steam form (or whichever container you decide to use) and pour the batter in.

    Singlish Swenglish 鸡蛋糕 Steamed Egg Cake
    Singlish Swenglish 鸡蛋糕 Steamed Egg Cake
  4. Steam it over high heat for about 30 minutes or until center is set.
  5. Remove it from the steamer and let it cool before slicing. You can keep this cake for a few days, and you can heat it up gently by steaming or microwaving (600W for about a minute) before eating.

    Singlish Swenglish 鸡蛋糕 Steamed Egg Cake

    Singlish Swenglish 鸡蛋糕 Steamed Egg Cake

Wednesday, October 19, 2011

Pineapple Upside Down Cake

http://singlishswenglish.blogspot.com/ - Pineapple Upside Down Cake

I know there's a lot of advice that says one should not eat pineapple when you are pregnant in the east, but there's also the Western part of my life that says all fruits all good. The most important deciding factor, however is the craving! When people ask me if I had any craving during those early months, honestly I didn't have except wanting to eat more fruits and yogurt. During these 20-24ish week, I crave for pineapples and coconut. Whatever form it comes in, juice, fresh, dessicated - I'll take them all.

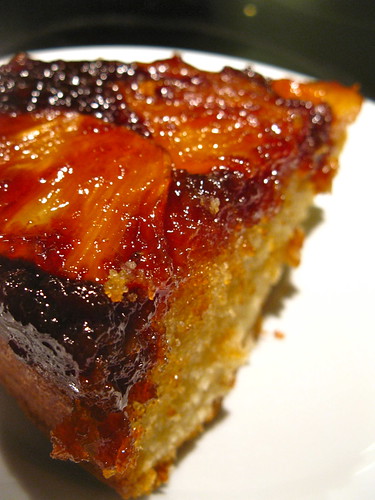
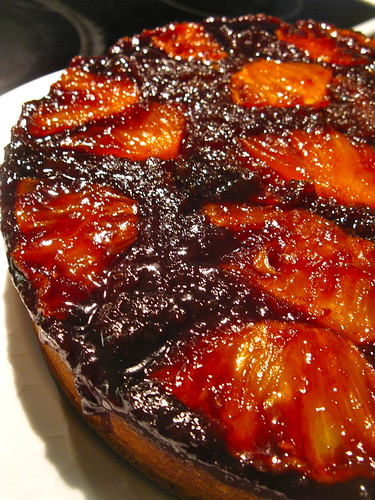
There's a Singaporean way of eating fresh pineapples - dipping them in a chili padi-infused dark soy sauce. I'm not sure how many still eat it that way but it's actually my favourite :). Anyway, I decided to compromise the pineapple eating myth and make a cake out of it, after all the acidity and stuff that pineapples are supposed to be harmful for will be caramelized in this cake. It's quite a sweet cake in my opinion and the recipe is from 
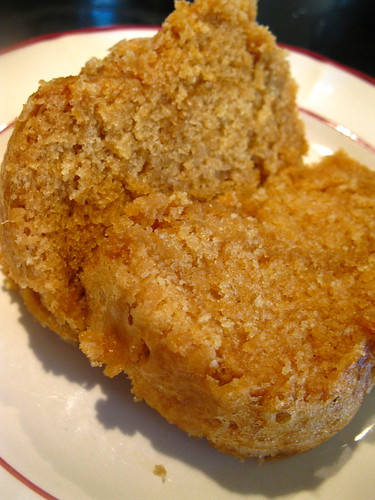
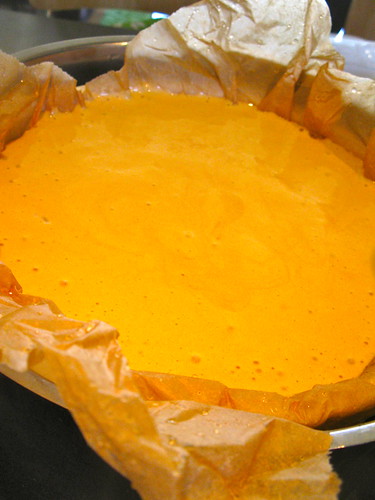
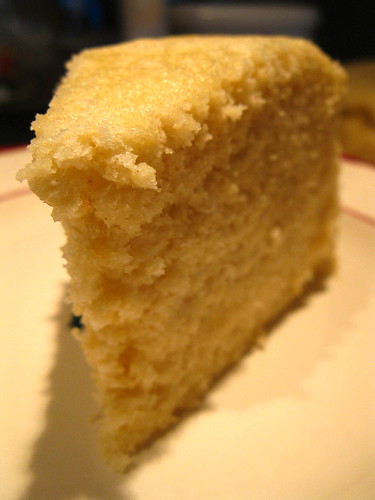
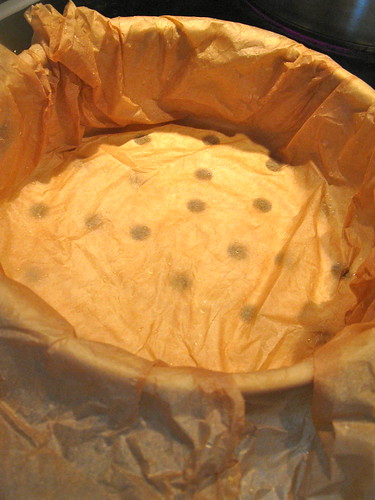
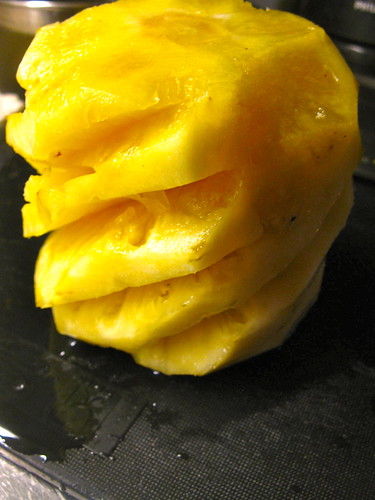
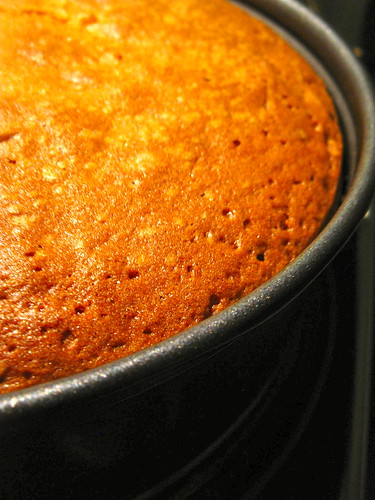
Joy of Baking's website and I used fresh pineapples instead of canned ones. The difficult part about this cake is probably the caramelization because I've only done the castor-sugar caramel before, but not the butter-brown sugar and the brown makes it difficult to judge if it has started caramelizing or not. I figured that's probably why my cake is quite dark compared to the picture shown on the website. Another tip is, don't use those cake pans that has a removable bottom because when you bake it, the caramel topping will be runny again and seep out and drip in the oven. Johan's colleagues like this a lot so this recipe is dedicated to them :)
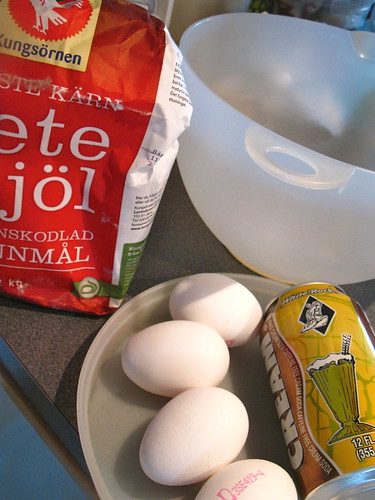

Ingredients
Topping
55 grams unsalted butter, cut in small pieces
160 grams light brown sugar
1/2 medium pineapple (peeled, quartered, cored, and sliced 1/4 inch thick)

Cake Batter
195 grams all purpose flour
2 teaspoons baking powder
1/4 teaspoon salt
113 grams unsalted butter, at room temperature
200 grams granulated white sugar
1 teaspoon pure vanilla extract
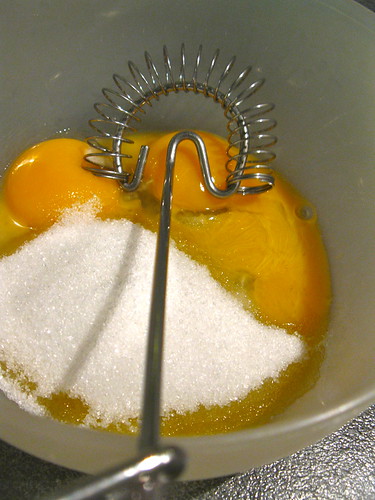
2 large eggs, separated
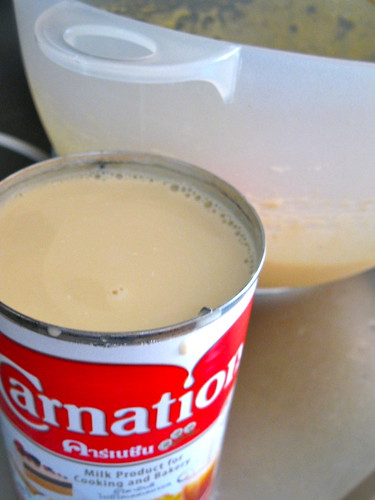
120 ml milk
1/4 teaspoon cream of tartar

http://singlishswenglish.blogspot.com/ - Pineapple Upside Down Cake

Steps
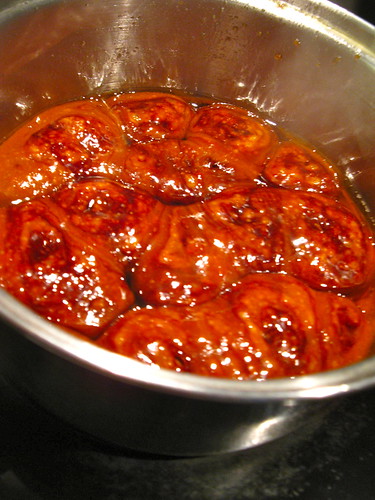
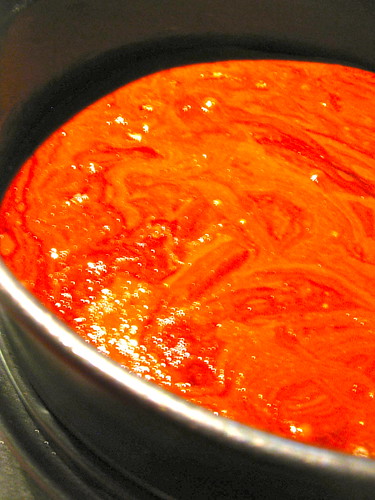
  1. In a small pot, place the butter for the topping and brown sugar and stir over medium heat until the sugar and butter melts, and when bubbles starts to appear in slow sequence, it should be caramelized by then. Pour it into a greased cake pan, covering the bottom evenly.

    http://singlishswenglish.blogspot.com/ - Pineapple Upside Down Cake

    http://singlishswenglish.blogspot.com/ - Pineapple Upside Down Cake
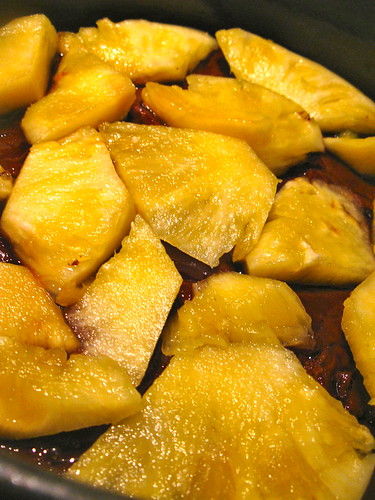
  2. Place the sliced pineapples evenly over the caramel and set aside while you prepare the cake batter.

    http://singlishswenglish.blogspot.com/ - Pineapple Upside Down Cake
  3. Mix the flour, salt and baking powder in a bowl and set aside. 
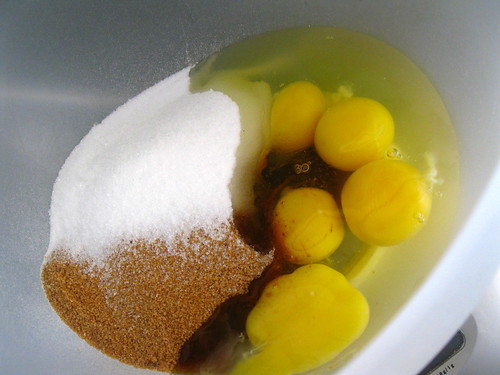
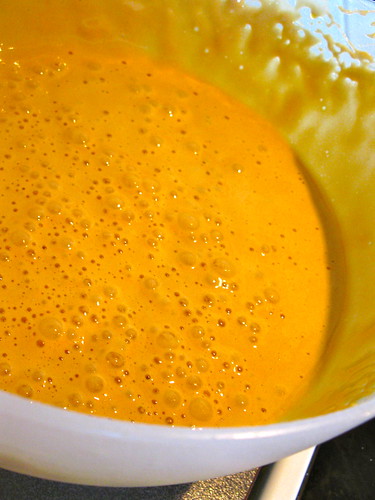
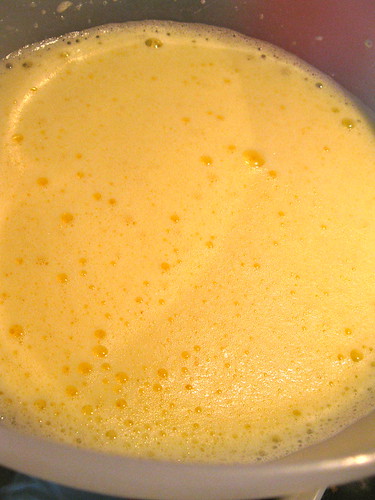
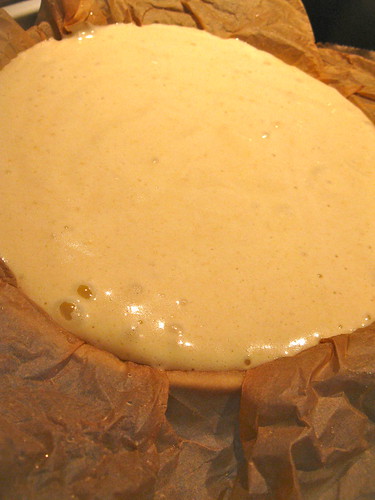
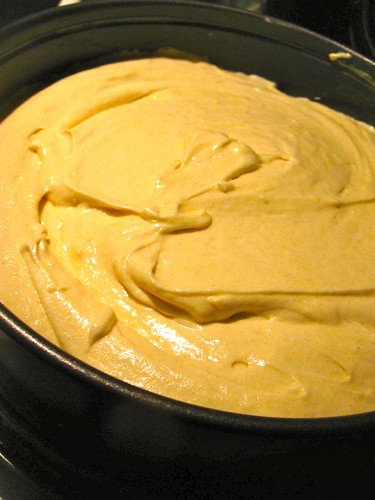
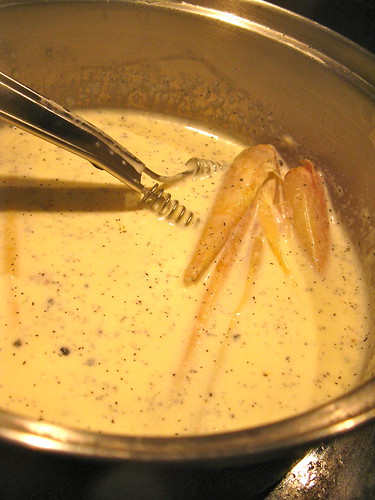
  4. Cream the butter and castor sugar (I might consider to reduce the amount next time) together until light and fluffy, then add the vanilla extract, then the egg yolks one by one, beating thoroughly after each addition.
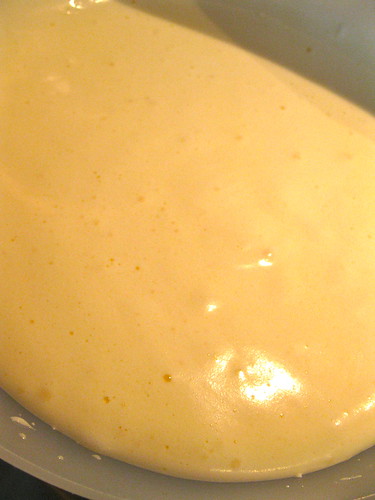
  5. Then add in 1/3 of the flour, 1/2 the milk, 1/3 flour, the other 1/2 of the milk and finally the last 1/3 of the flour, mixing each addition thoroughly before adding the next one. You can put the oven to preheat at 177°C at this point.
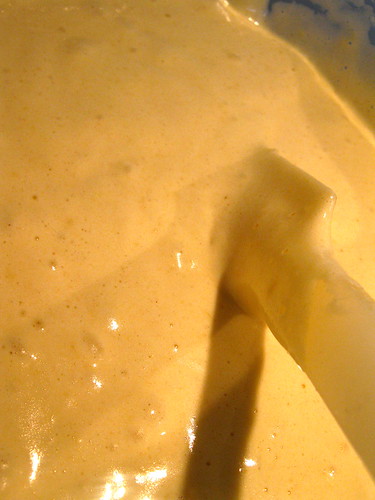
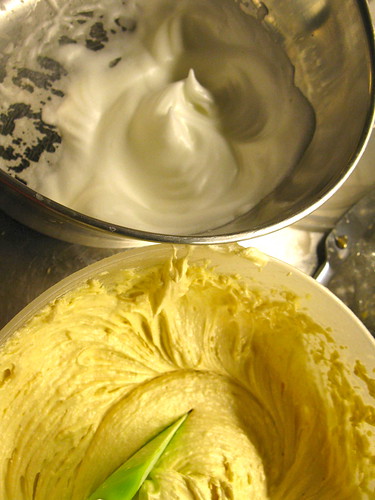
  6. In a separate bowl, beat the egg white with the cream of tartar until stiff peak is formed. Then fold in the egg white into the batter mixture in two additions.

    http://singlishswenglish.blogspot.com/ - Pineapple Upside Down Cake
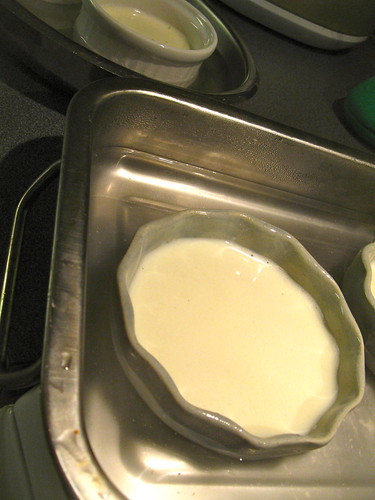
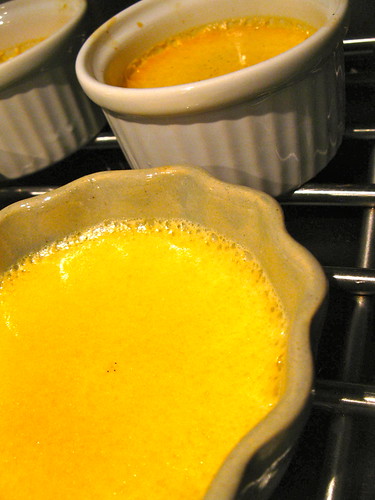
  7. Pour over the caramel-pineapple layer in the cake pan, smoothing it out and bake for about 55 minutes or until the center is set when you test with a skewer and it comes out clean.

    http://singlishswenglish.blogspot.com/ - Pineapple Upside Down Cake
  8. Take it out from the oven and leave it in the cake pan to cool for about 10 minutes before you attempt to turn it upside down onto a serving plate.

    http://singlishswenglish.blogspot.com/ - Pineapple Upside Down Cake

    http://singlishswenglish.blogspot.com/ - Pineapple Upside Down Cake

Tuesday, October 11, 2011

Stir Fried Tofu with Pork and Leeks

Stir Fried Tofu with Pork and Leeks http://singlishswenglish.blogspot.com/

One of the food item pregnant women are encouraged to eat is tofu, so whenever I have the chance or friends goes to Malmö, I will get some blocks of tofu so I can use them as soup or dishes. This is something my Dad would cook, seeing he loves vegetables such as spring onions, leeks and chinese celery. Whenever he cooks a pork or seafood dish for example, it will be these vegetables he eats instead of the main protein. He said it's because he likes them, but I think it's also because he wants his children to enjoy the main meat or seafood out of love since we don't pay the 'side dressing' much attention.

Ingredients
1 block of tofu
1 stalk of leek, sliced into 'horse ears' shape
1 medium clove garlic, minced
1 chili padi, sliced
5-6 thin slices of ginger
100g lean pork, sliced thinly, marinate with some soy sauce, pepper and sesame oil
Hot water and oyster sauce

Stir Fried Tofu with Pork and Leeks http://singlishswenglish.blogspot.com/

Steps
  1. Heat up a pan with cooking oil covering the base over medium heat and slightly brown the tofu on both sides, set aside.

    Stir Fried Tofu with Pork and Leeks http://singlishswenglish.blogspot.com/
  2. In the same pan, add a tablespoon of cooking oil if needed and add in the ginger slices first, frying it until fragrant before adding the garlic and chili padi.
  3. Add the sliced pork next and stir fry until it has change colour before adding the leek slices. The leeks in Sweden are of a much larger variety, and hence a bit 'thicker', so it may take a little longer to sweat it until soften, but cook it until it is bright green before returning the tofu slices into the pan to stew.


    Stir Fried Tofu with Pork and Leeks http://singlishswenglish.blogspot.com/
  4. Pour enough hot water to just cover the ingredients in the pan and add in about 2 tablespoons of oyster sauce and let it simmer over medium heat for about 5-10 minutes until the sauce reduces till gravy-like and the leeks has soften more. Best eaten with rice!

    Stir Fried Tofu with Pork and Leeks http://singlishswenglish.blogspot.com/

Thursday, October 6, 2011

Tofu/Fishball/Minced Pork Soup with Chinese Celery

Tofu/Fishball/Minced Pork Soup with Chinese Celery Singlish Swenglish

I managed to grow some Chinese Celery (Apium graveolens or leaf celery) here in Sweden and while it looks like parsley or coriander, it taste more like its celery cousin. My dad loves Chinese Celery too and would add it when he is frying prawns or fish etc, it just lifts up the dish. In the same way, when you add it in the end for this simple soup, it just enhances it without overpowering. I did short cuts for this by using stock cubes, but use it with a real stock if you have a chance to make one your own.

Ingredients (serves 1)
1 block of tofu, cut into cubes
100g minced pork, formed into balls
5-6 fishballs
1 Knorr Ikan billis stock cube
1 bowl of water
3-4 stalks of Chinese Celery, cleaned and sectioned

Tofu/Fishball/Minced Pork Soup with Chinese Celery Singlish Swenglish

Steps
  1. Place the tofu in a small pot with the water and let it come to a boil.

    Tofu/Fishball/Minced Pork Soup with Chinese Celery Singlish Swenglish
  2. Add the minced pork balls when it's boiling and the fishballs subsequently.
  3. When the ingredients are all about cooked, add in the stock cube and ensure it dissolves thoroughly.

    Tofu/Fishball/Minced Pork Soup with Chinese Celery Singlish Swenglish
  4. Add the last minute, add in the Chinese celery and garnish with some fried shallots. Serve with rice or you can add noodles to make it a noodle soup of your own.

    Tofu/Fishball/Minced Pork Soup with Chinese Celery Singlish Swenglish

Tuesday, October 4, 2011

Cymbopogon (Lemongrass) Crème Brûlée

http://singlishswenglish.blogspot.com/ Lemongrass Creme Brulee

One of my favorite smell is fresh lemongrass or cymbopogon (just to be fancy pansy haha!). The subtle lemony fragrance of a bruised lemongrass can keep me quite happy. I first tried lemongrass crème brûlée in one of those hotel buffet in Singapore and loved it! I tried making it before by adding lemongrass juice to castor sugar, but it didn't work that well and when I was researching online, they mostly have another version which is the lemongrass and ginger one. I don't really fancy the ginger flavour in my crème brûlée so I omitted that and added some vanilla pod instead. The trick about getting the maximum flavour out of the lemongrass besides bruising it is actually to freeze it first, before adding it to the creme mixture to infuse. The basic recipe is obtained from Anne's Food and it's a really simple but foolproof one, in my opinion.

Ingredients (for about four shallow ramekins or two deep ones)
200 ml whipping cream
100 ml milk
2 egg yolks
40 g sugar
1/2 vanilla bean
2 frozen lemongrass stalks
Castor sugar for topping

Steps
  1. Pour the milk and cream together in a small pot over low heat and add the bruised lemongrass stalks and let it come to a slow simmer, then turn the heat off and let it sit for about 10-15 minutes.

    http://singlishswenglish.blogspot.com/ Lemongrass Creme Brulee

  2. Meanwhile, beat the egg yolks and sugar together until light and fluffy and set aside. Preheat the oven to 170°C and boil some water for the water bath.

    http://singlishswenglish.blogspot.com/ Lemongrass Creme Brulee
  3. Scrape the vanilla seeds off the pod and add it to the mixture and mix well, before adding it to the egg mixture, mixing all the time.

    http://singlishswenglish.blogspot.com/ Lemongrass Creme Brulee
  4. Pour the mixture into the ramekins and place it in a water bath before putting it into the oven for 45 minutes. They should be wobbly when done, let it cool before chilling it in the fridge for at least four hours but preferably overnight.

    http://singlishswenglish.blogspot.com/ Lemongrass Creme Brulee

    http://singlishswenglish.blogspot.com/ Lemongrass Creme Brulee
  5. Just before serving, sprinkle castor sugar over the surface and torch it(:) until it reaches that lovely caramel color and satisfying crunch when you crack it with a spoon.
 http://singlishswenglish.blogspot.com/ Lemon Grass Creme Brulee