Monday, January 31, 2011

黄梨酥 Pineapple tart - Ananas kex

Singlish swenglish 黄梨酥

Two more days to Chinese New Year and I heard that it's been raining very heavily in Singapore. Here in Sweden, it's just been greyish and cloudy but rain is supposed to signify prosperity for the Chinese and it's also a sign of blessing, so...it will be the perfect weather to stay home and try making this popular cookie!

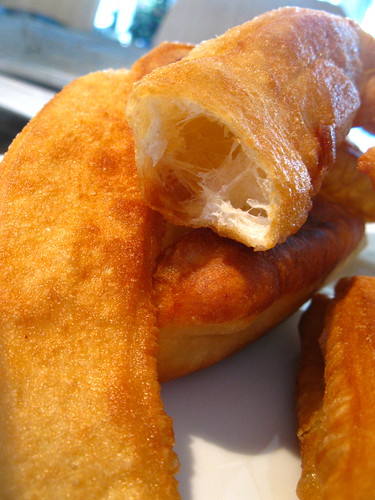
I adapted the recipe from Fresh from Oven, whose recipe has been used by many fellow bloggers. I like the jam which I added cinnamon sticks and cloves while simmering it down but the pastry - not sure if I'm baked it too long (15 minutes) or its too thick, or because I did it the open style instead of the closed one, is not yet to the soft, melt-in-your-mouth type that I really love. Next time I will try the recipe from here, and keep the jam recipe but double the amount because I like it with generous toppings and this was quite fragrant and not too sweet, despite using canned pineapples.
The best pineapple tarts (and quite expensive) ones I've tasted so far still comes from the bakery at Killiney Road. It was during those days when M1 call center was still situated in town and IOI building was just next to this old looking shop house unit. They also sell it during non-CNY period, so if you miss it this time, don't worry, you can get it it non-peak period without q-ing.
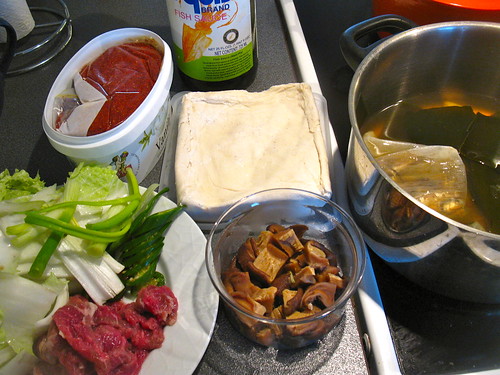
Ingredients
Pineapple Jam/filling
1 can of pineapple rings (mine has about 8-9 rings in one can, but I would double this next time)
1/4 cup sugar
1 cinnamon stick
2-3 cloves
1-2 teaspoon lemon juice
1 teaspoon cornstarch

Pastry (Handle it like a sweet short-crust pastry)
220g unsalted butter, at room temperature
2 egg yolks
375g plain flour
1/4 teaspoon salt
50g icing sugar
2 tablespoons cornstarch 
egg wash
 
Steps
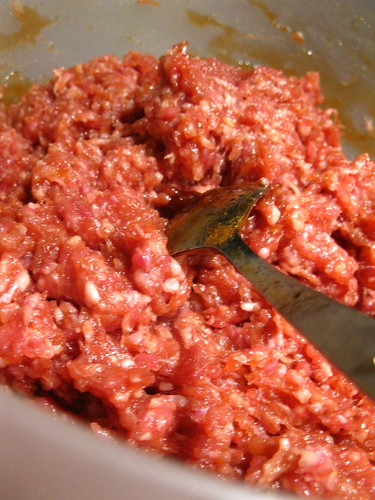
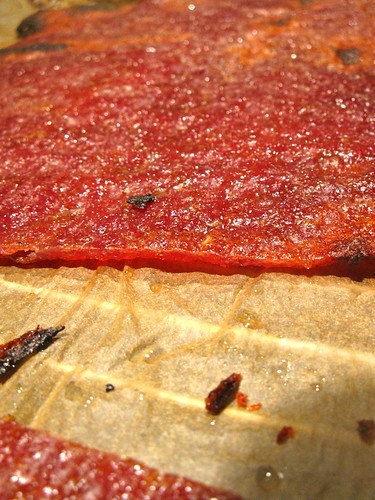
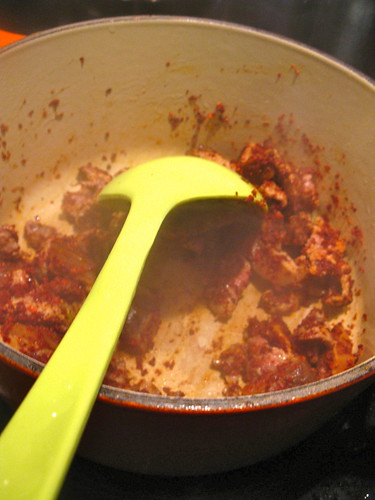
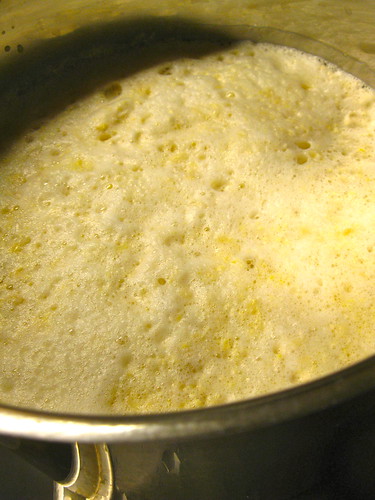
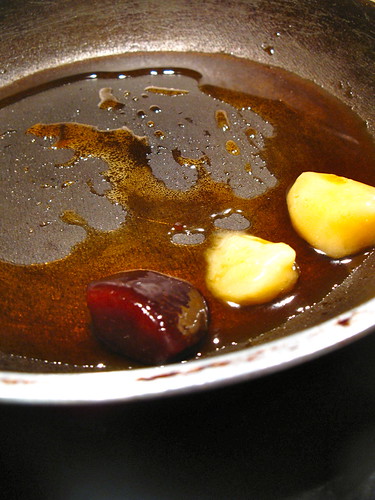
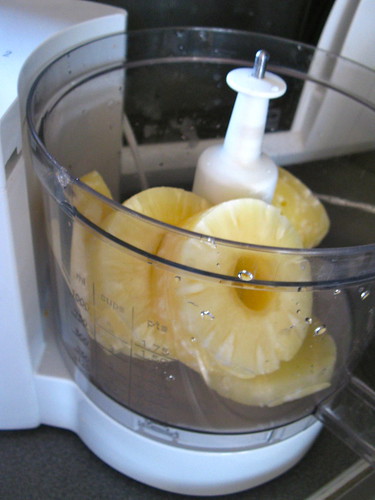
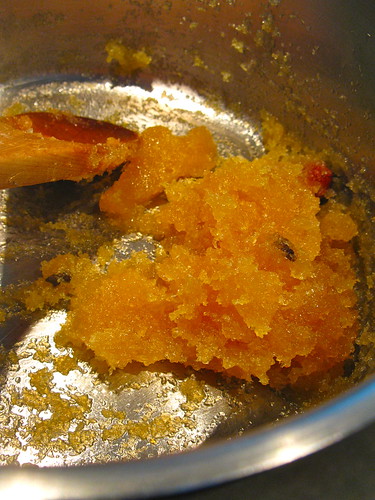
  1. Process the pineapple rings in a food processor until very fine. Remember to drain the pineapple as much as you can first.

    Singlish swenglish 黄梨酥 pineapple tart
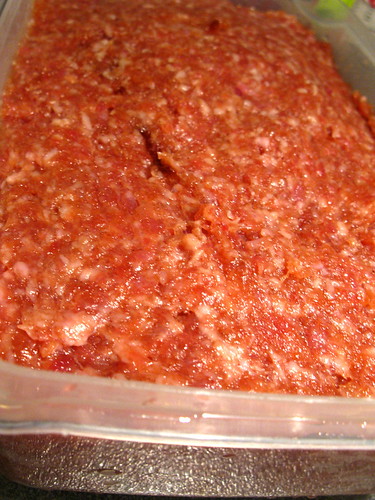
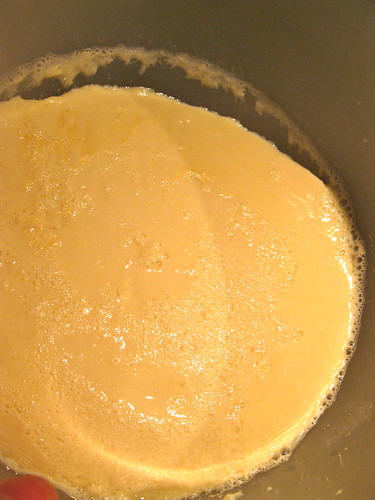
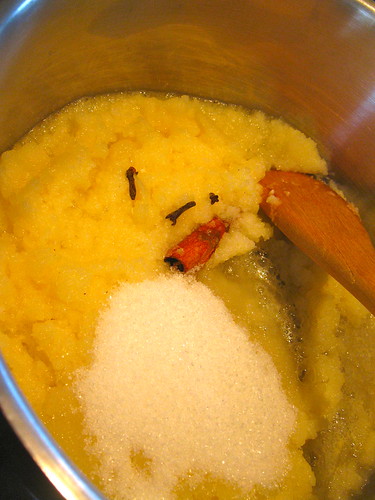
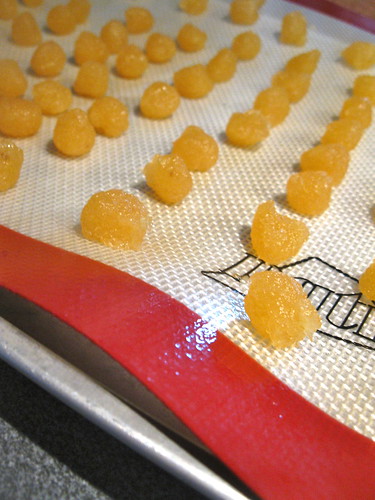
  2. In a pot, add the pineapple, cinnamon, cloves and sugar and stir it over medium high heat for about 30 minutes until it reduces to a sticky, jam-like consistency. Add the lemon juice and cornstarch towards the end part of the whole process and stir well. Let it cool before rolling them into individual portion (measure it against the mould you will be using, I used a small one but they can vary in size) to be used for topping the tarts. I find wetting my hands a little helps in the rolling.

    Singlish swenglish 黄梨酥 pineapple tart

    Singlish swenglish 黄梨酥 pineapple jam

    Singlish swenglish 黄梨酥 pineapple tart
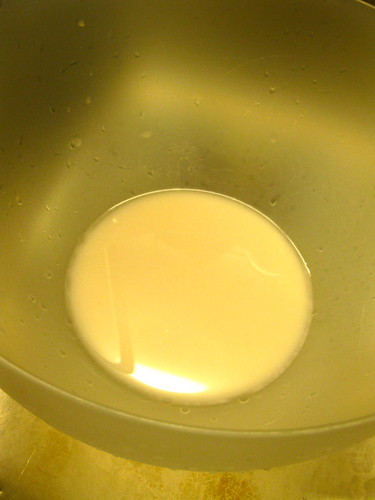
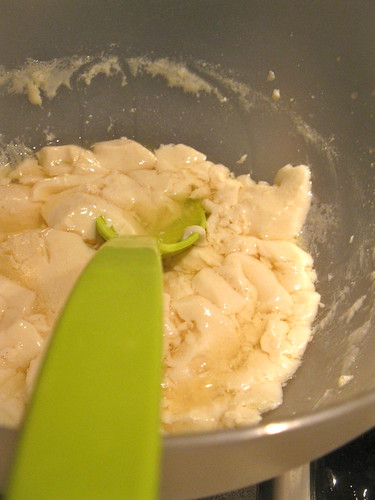
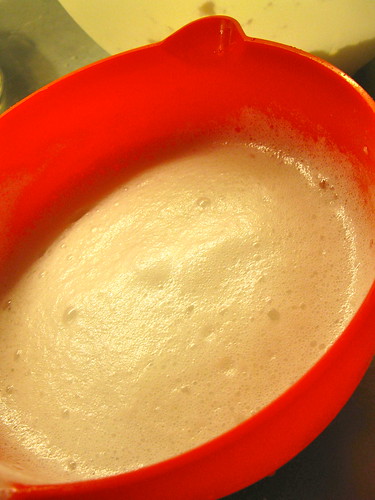
  3. Prepare the pastry by beating the butter until it is light and fluffy, then add the egg yolks one at a time, making sure it is incorporated well.
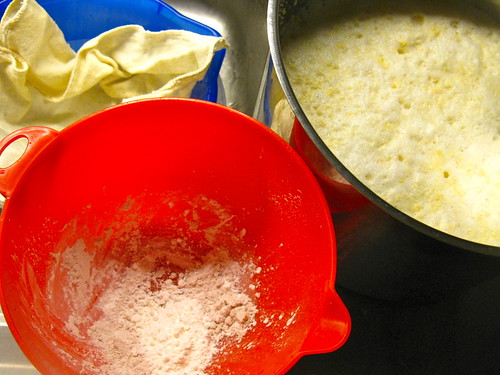
  4. Sieve the dry ingredients gradually and mix it into the egg & butter mix, until the dough resembles large chunks of semi-wet bread crumbs.

    Singlish swenglish 黄梨酥 pineapple tart
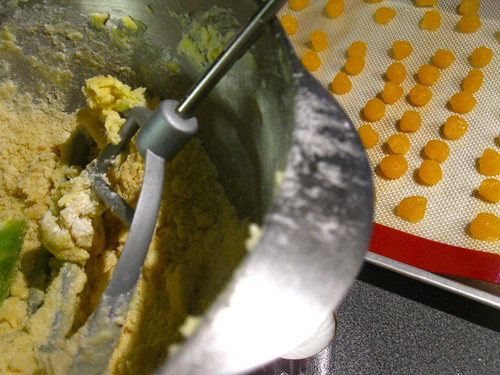
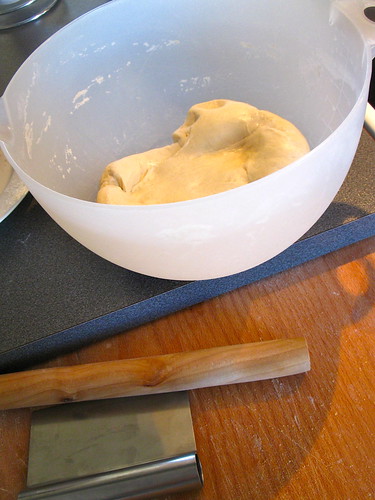
  5. On a metal tray or non-stick surface, use your hands to bring the dough together. This is like a short-crust pastry so it will tend to be a bit flaky but should feel a bit tacky but not sticky to touch.
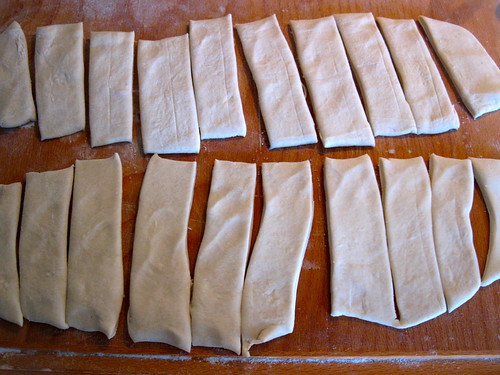
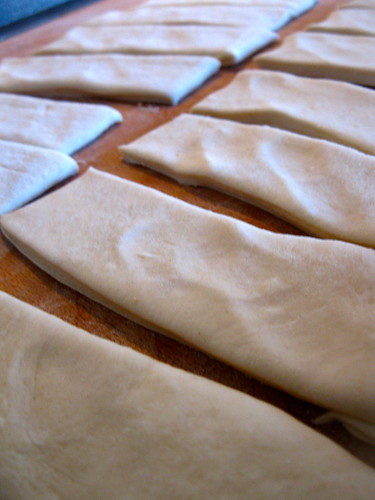
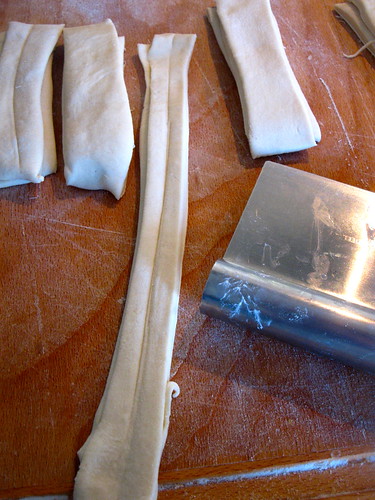
  6. Roll out the dough to a large rectangle of your desired thickness (mine was like 1.5 time the thickness of one side of an Oreo cookie).

    Singlish swenglish 黄梨酥 pineapple tart
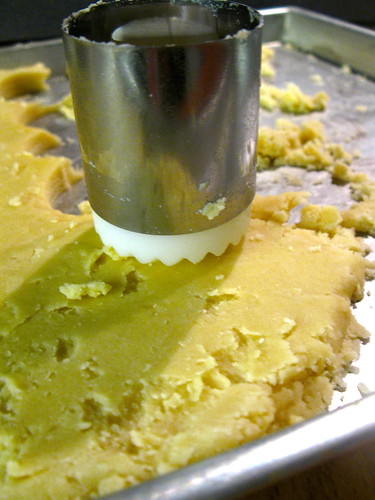
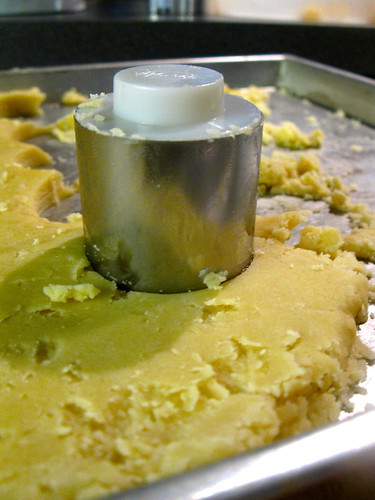
  7. Using a pineapple tart mould/cutter (I bought mine from one of those baking supplies shop in Singapore, cost just under SGD$3.00 and try to figure out how to use it), first press down the metal ring to cut the dough;

    Singlish swenglish 黄梨酥 pineapple tart
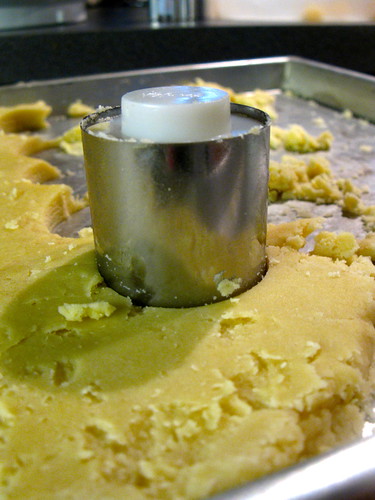
  8. Then press down the plastic white mould to make the impression/indentation;

    Singlish swenglish 黄梨酥 pineapple tart
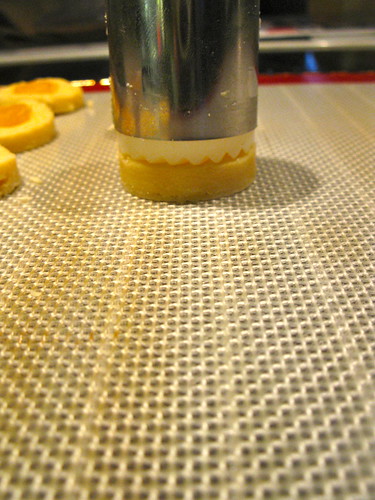
  9. Place the mould with the dough at the bottom on your baking sheet;
  10. Push out the dough and carefully remove it from the bottom of the mould. If the dough gets too soft to work with, put it into the fridge for a while before using).

    Singlish swenglish 黄梨酥 pineapple tart
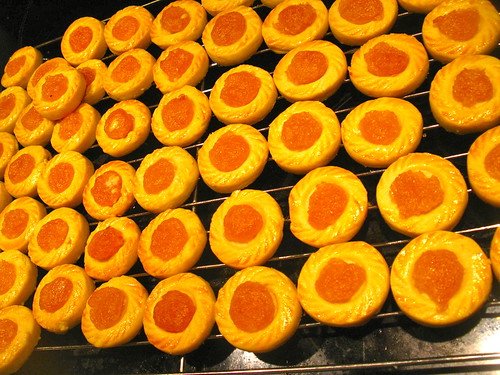
  11. Take a portion of the pineapple filling you have rolled out previously, flatten it slightly before placing it in the pineapple tart indention, pressing it to fit the indentation if necessary.

    Singlish swenglish 黄梨酥 pineapple tart
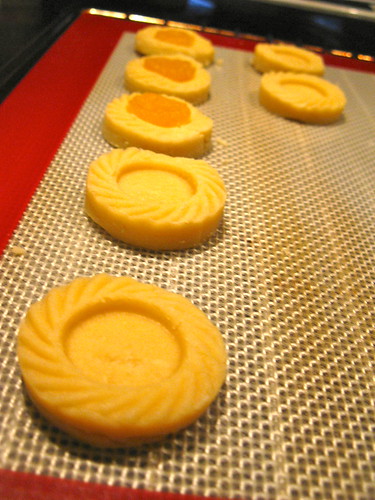
  12. Egg-wash the pineapple tart before baking it in a pre-heated oven at 180°C for about 10-15 minutes. The pineapple tart is done when the bottom of each cookie is baked through.

    Singlish swenglish 黄梨酥 pineapple tart

    鳳梨酥 Singlish swenglish

Thursday, January 27, 2011

新年快乐!Chinese New Year Bak Kwa or Chinese Pork Jerky/Dried Pork Slice

First Bak Kwa - done!

Happy Chinese New Year! Especially to three new fans who joined my facebook page this week :) Really spurs me on to update this blog frequently!

Well, technically not yet until the 3rd February this year (which is the year of the rabbit by the way), but preparation for Chinese New Year would have started with lots of chinese families by now. They would include buying lots of chinese new year goodies so we can entertain guests with when they visit us, or to eat ourselves silly.

I'm feeling a bit sad this year because of work commitments that I'm not spending it in Singapore with my family. Going to miss giving Dad ang bao (red packets) and all the nice things that comes with this festival, which is like Christmas all over again.

Well, to boast my spirits up a bit, I decided to have a reunion dinner with my Swedish family here (will post up what we did when it's done ;), have a Chinese New Year theme fika with an international cellgroup, and have a little steamboat-bbq dinner with some good friends here in Sweden on my birthday, which happens to fall on second day of Chinese New Year this year.

Bak Kwa is one of those things that is good to give as gifts during chinese new year, but it's a pain to queue up for if you are a stickler for brand names. Personally, I like the ones from Malaysia better but I decided to make my own this time (actually, I have no choice since no one has come to Sweden visit me yet from Singapore! *hint hint* :P) and consulted a few websites, especially Soy and Pepper's blog on it. However, while the texture and consistency is satisfactory, I find the taste not like the sweet smokey flavor I tasted from a friend who pass me some she had from Singapore. So, I did more research and came across some remarks that it was tried with char siu sauce. Thinking about it makes sense and since I normally make my own char siu sauce, I decided to tweak it a bit and here's my Bak Kwa seasoning recipe, hope you like it too!

Ingredients (for 1.5kg minced pork, you may scale accordingly)
1.5kg minced pork (not too lean)
300g sugar
1/4 teaspoon five-spice powder
1 tablespoon shaoxing wine
1.5 tablespoon oyster sauce
6 tablespoons fish sauce
3 tablespoons light soy sauce
1 tablespoon dark soy sauce
1 tablespoon sesame seed oil
3 drops of red food colouring
3 turns of freshly ground black pepper

Steps
  1. Using a small pot, stir all the seasonings together making the sugar has melted into a sticky, thick sauce. Let it cool before adding to the minced pork.

    Singlish Swenglish Bak Kwa Seasoning
  2. Stir in the seasoning with a pair of chopsticks in a single direction. Cover and let it marinate overnight in the fridge.

    Sweet Salty Sticky Marinade for Chinese Pork Jerky


    Stirring it in for the Bak kwa

    Marinated minced pork for dried pork slices
  3. Preheat the oven at 100°C. Prepare a baking sheet large enough to fit into the oven.
  4. Take about 500g of minced pork each time (for my standard oven size) and place in the middle of the baking sheet. Cover with a large sheet of plastic or plastic wrap before using your rolling pin to flatten the minced pork into a large thin layer (about 0.5cm in thickness or less). Use a spoon dipped in some cooking oil to smoothed those parts that are uneven.

    SinglishSwenglish Bak Kwa

  5. Bake at 100°C for 60 minutes with the oven door slightly ajar (which is also the way if you are making your own root vegetable or apple chips). As a precaution in any case the minced meat mixture will secretes any drippings, I had a oven tray resting at the bottom of the oven to catch any for easier cleaning up.
  6. If you intend to store these pork slices for grilling later, let it cool and wrap each slice individually before freezing them, otherwise turn up the oven to 230°C and grill it on each side for about 5-8 minutes, watching for the sides which may be slightly charred. (I like the charred bits).
  7. Serve warm or at room temperature, store in an airtight container in the fridge for a few days.

    SinglishSwenglish Bak Kwa

Sunday, January 23, 2011

Hot and Spicy Korean Beef and Tofu Stew

Hot and Spicy Korean Tofu Meat Stew

The next thing after making my own tofu was to think of a way to enjoy it. The idea of Mapo Toufu did came across my mind but I wanted to try something different. Sylvia passed me a link on Korean food and after checking her quite friendly website, I settled for Maangchi's Soondubu jjigae (soft tofu stew). 

I love her stock base which is made up of kelp, ikan billis, mushrooms, garlic and onion. Put all of them together in a pot with 5 cups of water and about 30 minutes later you have the perfect stock for soup or stew. No other seasonings is added and each ingredient just sets off each other so well.

12 big ikan billis is hiding inside here
12 big ikan bilis in a stock bag

Delicious stock base

Boil it for 30 minutes with 5 cups of water, 2 shiitake mushroom, half an onion, 5 garlic cloves and 1/3 cup dried kelp slices

So once you've got the stock prepared, time to get on with other ingredients:

Ingredients for stew (3 portions)

100 grams of beef, sliced
3 crabsticks or surimi sticks (optional, you may use seafood if you like)
2 spring onions, cut into 3cm sections
1 green chili pepper, sliced
3.5 tablespoons of hot pepper flakes
1 block of homemade tofu (about 200-300g)
2 tablespoons of fish sauce
4-5 chinese lettuce leaves/napa cabbage
1 egg
2 teaspoons cooking oil
sesame oil for drizzling
Ingredients for Hot and Spicy Korean Tofu Beef Stew

Steps
  1.  Scoop the shiitake mushroom out from the stock and cut into squares.
  2. Heat up a deep pot or something like my lovely Le Cruset will do fine. Add the cooking oil.
  3. When it is sufficiently hot, add the beef slices and brown it before adding the mushrooms.
  4. Add the hot pepper flakes (you can see her website for the recommended amount for degree of spiciness).

    Frying the beef with pepper flakes
  5. Add the stock and let it come to a boil before adding the vegetables.

    Some vegetables to lighten it up and make it a one pot dish
  6. Add the tofu next when the stew is simmering, you don't have to cut it up at this point, it should break naturally into large chunks when you are stirring the stew.

    Adding my homemade tofu block to the korean beef stew
  7. Let it simmer until the vegetables are tender, then stir in the green chili slices, spring onions sections and crabsticks if you are using at this point.

    Hot and Spicy Korean Tofu Beef Stew
  8. Just before serving, crack an egg into the stew, stir it round or let it poach in the stew according to your preference. Drizzle some sesame seed oil over and serve it pipping hot with rice!

    Hot and Spicy Korean Tofu Beef Stew

Tuesday, January 18, 2011

Making my own soy milk and beancurd - Hemgjört Soymjölk och beancurd

Singlish Swenglish Tofu eller bean curd

This is my very first successful home-made beancurd! Nice eh? Behind this successful experiment lies many unsuccessful ones. They are mostly unsuccessful because the soymilk did not set enough and I think my use of gypsum which I bought from my Chinese medical hall back in Singapore is the main reason a beancurd was born in my kitchen.

For those who are lactose intolerant, soy bean products, and for that Sweden will be a good place to live because they provide many lactose free alternatives and they are about the same price or just slightly more expensive than normal products. I also have to give credit to these two sites :  Uhandblog and Messy Vegetarian which provide very clear steps on what to do and what to expect. I also had my Fushia Dunlop's recipe for making flower beancurd so I adjusted to what suited me the most. The hardest thing to find for someone who wants to make your own tofu is the coagulant and I have tried nigari (from health food store) and gypsum and the latter works better. I also got some lactone from a baking supplies shop in Singapore and it is supposed to work too but I will let you know when I try with that.

Ingredients
300g soy beans, soaked overnight
1/2 tablespoon corn starch
1.5 teaspoon gypsum
1/2 cup cold water for blending the corn start and gypsum powder 
Cold water for blending the soy beans with (2 cups of water for every cup of soy beans, 1.5 cups for the last cup of soy beans)

Equipment
cheese cloth
sieve
container for setting the tofu in which can drain off excess water
heavy objects like stones or cans or pestle 
Large deep pot

Steps
  1. Drain the soaked soy beans and blend the beans with the amount cold water as stated above.
  2. Use a cheese cloth to strain the soy bean mixture, squeezing out as much soy milk as possible. The residue is called okara, which can be made into dishes or cookies. (Again, when I try it, I will post it up :p)

    Pressing out the soy milk
  3. Pour the soy milk into a deep pot. Boil the soy milk for at least 20-25 minutes and keep a close watch on it because it will be foamy and threaten to overflow very quickly once it reach heating point. I tend to stir it often and take it off the heat once in a while if I can't 'calm' it down. Prepare the coagulant mixture in a deep bowl by mixing 1/2 cup cold water with the cornstarch and gypsum meanwhile between the break from stirring.

    Foamy soymilk

    All that you need to make Singlish Swenglish beancurd
  4. Let the soy milk cool to 85°C. If you like to set aside a bowl of soy milk, you may do so at this point of time. Stir the coagulant in the bowl first and then pour the remaining soy milk from a height straight into the bowl containing the coagulant mixture and leave it alone without stirring.

    boiled soymilk

    gypsum mixture
    Coagulent

  5. When you see the tofu has set, you may scoop some out from the whey to be the flower bean curd and scoop the rest into the mould you have lined with a cheese cloth.

    Swenglish Singlish beancurd cogulating

    Swenglish Singlish  beancurd setting

    Swenglish Singlish Pressing the beancurd equipment
  6. Cover the soft bean curd and weigh heavy items on top of it to help press out the water. The longer you leave it to set, the firmer the beancurd will be.

    Swenglish Singlish Pressing the beancurd

    Swenglish Singlish Pressing the beancurd

    Swenglish Singlish Pressing the beancurd
  7. Use the beancurd immediately or store in the fridge to consume within the next few days.

    Singlish Swenglish Tofu eller bean curd
  8. For the soy milk, it's nice to have it hot with some sugar added and dip a youtiao or two with it.

    Youtiao with soymilk

  9. For the flower beancurd, you can either make a simple sugar syrup to pour over it or a gula melaka/palm sugar one by melting them with some water and spoon it over for a nice sweet dessert.

    Singlish Swenglish Gula melaka and palm sugar syrup

    Singlish Swenglish Douhua eller flower beancurd

Wednesday, January 12, 2011

油条 Chinese Crullers You Char Kway

油条

One of my favourite comfort food is rice porridge or congee. Its the beauty of combining a soup and rice that seals the deal for me. Recently, I had a craving for the crunchy youtiao (油条) which I like as the finishing garnish on my porridge with pepper and a dash of soy sauce. I missed how I can dunk them into the porridge and feel the semi-crunchiness with hint of pepper and soy sauce all in one mouthful. So, I decided to try them again. Yup, this is one of those experimental thing I tried in 2007 and it didn't came out well - it was more like a fried biscuit then.

My main reference for this recipe comes from Cherry's kitchen, this particular post kinda of combines all three very typical Singaporean snacks. I also made the soymilk and beancurd (the next upcoming post) and oo.....it's just so good with everything freshly made!

One thing I didn't really like is the amount of oil one have to use to have perfect 油条, so I kinda of play cheat i.e I cut the youtiao into shorter slices and I didn't use as much oil that the crullers can float in. What happens was one side is nicely puffed up, the other side is flat. ! I adjusted some ingredients because I don't have the exact one or I didn't have at all (ammonia)But it still taste good! So here's my successful 2011 experiment :)

Ingredients (for 10 long double pieces)
1 cup plain flour
2 teaspoon baking powder
1 level teaspoon alum
1 teaspoon baking soda
1 teaspoon salt
220ml water
glutinous rice flour for coating and handling of dough

Steps
  1. In a bowl, combine the flour and baking powder together and mix well.

    油条 Chinese Crullers you char kway
  2. In a separate bowl (expect some bubbling action here), stir the alum, salt, baking soda and water together until all are dissolved.

    油条 Chinese Crullers you char kway
  3. Add the liquid mixture to the flour mixture until the dough comes together. Cover and let it sit for 15 minutes before *punching down the dough 8 times, folding it over 4 times and flipping the dough over to let it rest for another 15 minutes. 
  4. Repeat * 4 times. Then rub some oil/margarine over the dough and let it rest for at least 4 hours or overnight. (I let mine rest in the fridge overnight).
  5. Take the dough out of the fridge an hour before you intend to fry it to let it return to room temperature.

    油条 Chinese Crullers you char kway
  6. Divide the dough into two parts and roll each part into a rectangle. Slice each rectangle into 10 strips and place one strip on top of another.

    油条 Chinese Crullers you char kway


    you char kway
  7. Take the back of a knife and indent in the middle before frying the dough strips. Stretch the dough by pulling it gently in opposite directions.

    油条 Chinese Crullers you char kway
  8. Make sure the oil is hot and should be deep enough that the dough strips can float and you can turn it over easily.
  9. Fry until both sides are golden brown and serve it as it is, or with porridge or soy milk.

    油条 Chinese Crullers you char kway