Showing posts with label Yeast Projects. Show all posts

Monday, January 25, 2010

Making Kim Chi

Korean kimchi

It never really crossed my mind to make my own Kim Chi until a friend passed me some she made herself while we were in Lund two years ago. Since then, I have been trying to find a easy recipe to try and I finally found it here, at Dr Ben Kim's site which has detailed steps you can follow to make your own. I did some changes particularly to the Korean pepper powder which after some research I felt can be substitute with a mix of paprika and chili powder you can find in any spice rack in a supermarket. SoooOOoo....I tried it and it was quite successful and you can vary how spicy you want it to be by adjusting the amount of chili powder you want in it. So here's my take on making Kim Chi:

Ingrediants
1 chinese cabbage or napa cabbage or da bai cai, about 400-600g
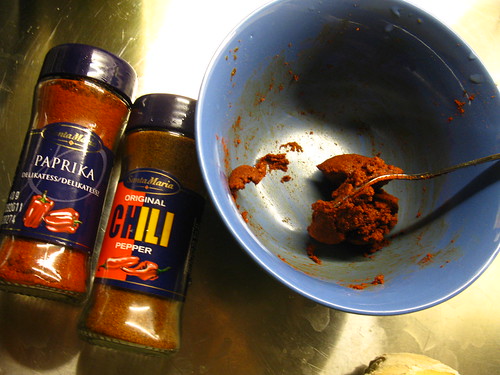
3 tablespoons of paprika powder
3 tablespoons of chili powder
3 tablespoons of salt
About 50-80ml warm water
1 tablespoon minced garlic
1 tablespoon minced ginger
half a ripe apple, grated & half a ripe chinese pear, the kind with yellow skin grated and both mixed with about 200ml of water.
2-3 spring onions, sliced thinly
2 tablespoon fish sauce

Steps
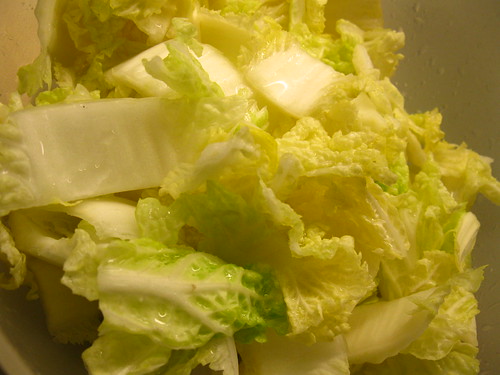
  1. Cut up the cabbage into 2cm chunks and put it in a bowl.

    kineskakal

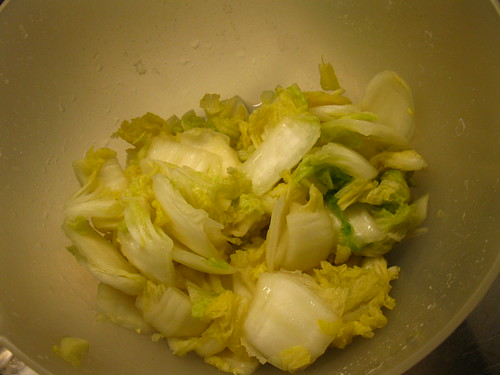
  2. Sprinkle the salt over the cabbage, mix it up and let it rest for about 4 hours. The salt is supposed to draw out the water from the cabbage and also act as a preservative of sort. You should expect them to be limp like this:

    Salted chinese cabbage

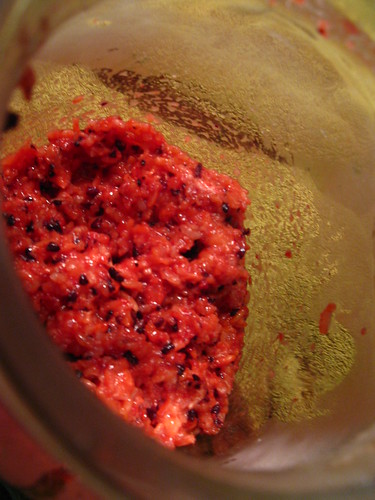
  3. And here's my substitute for the Korean pepper, I mix it up with the warm water to form a paste. It may not look like much, but believe me, it will be enough:

    Homemade paste

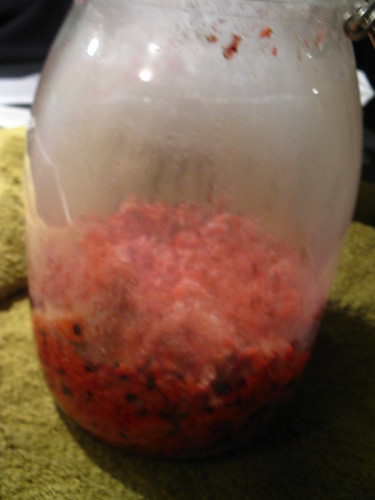
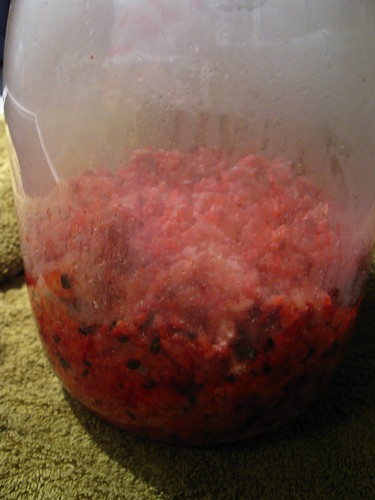
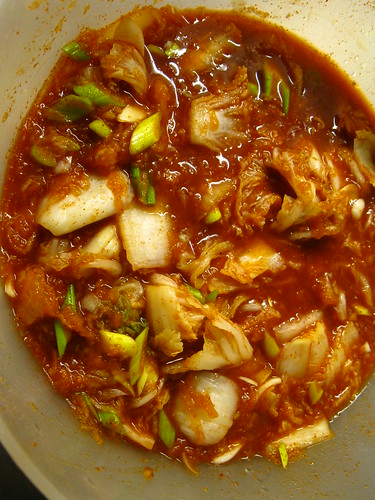
  4. Add in the paste, garlic, ginger, apple & pear mixture, fish sauce and spring onion. Mix it all up together and this will be your kimchi:

    kimchi with pear, apple, onion

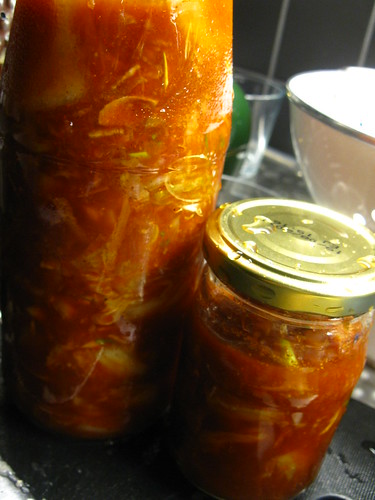
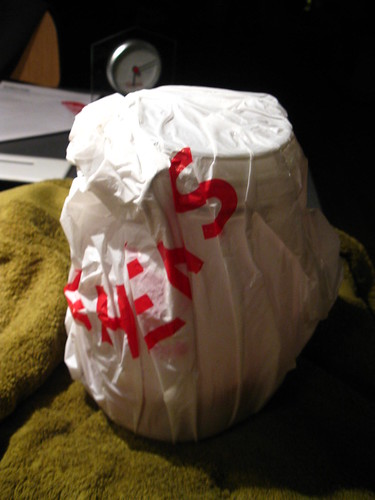
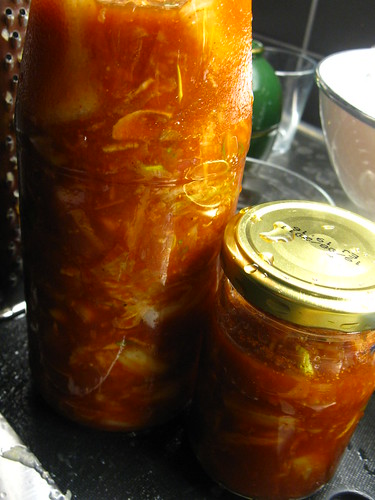
  5. Bottle it up and let it stand at room temperature for 24 hours and you can keep in the fridge for at least a month. According to Dr Kim's site, the longer you keep it, the more sour it gets as it ferments. I like to eat mine with the Korean pancakes :)


    Kimchi bottled

Sunday, January 24, 2010

Sweet Glutinous Rice Wine or Tian Jiu eller Söt Vine

The last few months I have been intrigued by the world of micro-organisms in the kingdom Fungi. It started off when a classmate pass me 'Herman', who is currently still residing in my fridge. He has a brother call 'Ryeman' - since he was made of rye. This is his cousin Xiao ming - a Chinese product as a offshoot from the same process refer to as fermentation.

Ok, if you still don't get it, please go to this link about yeast, yes, yeast. What did you think I was talking about?

If you have done baking, you would know how vulnerable yeast are, you can kill it just by the subtle change in water temperature. Of course, for those of you who don't bake, its the thing that helps make your bread all nice and fluffy. Nothing pleases a baker more than a successful risen dough.

I will post up my sourdough project soon, but here's a Chinese take on the use of yeast. It all started when my friend Sylvia (you know her, the one who sends me Le Creuset stuff from UK, you should visit her blog btw) and her mom sent me some wine yeast and red rice for making sweet glutinous wine. It also happened that I have a classmate from China whose mom makes the wine herself and the third ingredient that clinched this project was that in the book 'Revolutionary Chinese Cookbook' by Fushia Dunlop, she had a recipe to make this too.

So here's the process of making Xiaoming, with the help of my classmate Xiaoyun:

Ingredients
You need:
250g glutinous rice (the kind for making zong zi or sticky rice)
400ml water
1 wine yeast ball (Sylvia and her mom sent me 4!:))
Handful of red rice
A clean tall glass or earthen container, I got mine from Ikea

This is how they look like:


So to begin the process, rinse the glutinous rice in cold water until the water runs clear. Place both the rice and water in a rice cooker and cook till it it done. Otherwise, you can steam it until they just turn tender. Spread it out to cool on a large flat surface, I used my baking tray.

Sweet Glutinous rice wine in the making

While waiting, crush the wine yeast into fine powder using a mortar and pestle. As we were not sure of the strength of the wine yeast, we used half of 1 wine yeast that we got from Sylvia for the amount of rice mention. When the rice is cooled, scatter them all over and mix well using a chopstick. Scatter some of the powdered yeast at the bottom of the container first before adding the rice mixture:

After 3 days

Close the lid, but not airtight. This should be done very quickly once you have mixed the yeast with the rice, the idea being you should keep it as warm as you can. We used a rubber band to close the lid of the container we got from Ikea instead of the lever that comes with it. Then we wrapped it up first with a plastic bag, then a thick towel around it, then another plastic bag and we set it near the biggest heater in the house. Then wait for about 3 days before you open it. 
 
This was the second layer after we removed the outermost plastic bag:

rice wined wrapped up nice and warm, second later


Then the final layer:
first layer

Then the finished product, looking steamy and warm:

looks promising

Can you see the fermented wine?

unwrapped rice wine

I decided it can sit another two days since Sweden has been -2 these past few days so I wrapped it up again and set it back and today this is how it looks like:


So we can declare it a successful project for this time :)