Ok, if you still don't get it, please go to this link about yeast, yes, yeast. What did you think I was talking about?
If you have done baking, you would know how vulnerable yeast are, you can kill it just by the subtle change in water temperature. Of course, for those of you who don't bake, its the thing that helps make your bread all nice and fluffy. Nothing pleases a baker more than a successful risen dough.
I will post up my sourdough project soon, but here's a Chinese take on the use of yeast. It all started when my friend Sylvia (you know her, the one who sends me Le Creuset stuff from UK, you should visit her blog btw) and her mom sent me some wine yeast and red rice for making sweet glutinous wine. It also happened that I have a classmate from China whose mom makes the wine herself and the third ingredient that clinched this project was that in the book 'Revolutionary Chinese Cookbook' by Fushia Dunlop, she had a recipe to make this too.
So here's the process of making Xiaoming, with the help of my classmate Xiaoyun:
Ingredients
You need:
250g glutinous rice (the kind for making zong zi or sticky rice)
400ml water
1 wine yeast ball (Sylvia and her mom sent me 4!:))
Handful of red rice
A clean tall glass or earthen container, I got mine from Ikea
This is how they look like:
So to begin the process, rinse the glutinous rice in cold water until the water runs clear. Place both the rice and water in a rice cooker and cook till it it done. Otherwise, you can steam it until they just turn tender. Spread it out to cool on a large flat surface, I used my baking tray.
While waiting, crush the wine yeast into fine powder using a mortar and pestle. As we were not sure of the strength of the wine yeast, we used half of 1 wine yeast that we got from Sylvia for the amount of rice mention. When the rice is cooled, scatter them all over and mix well using a chopstick. Scatter some of the powdered yeast at the bottom of the container first before adding the rice mixture:
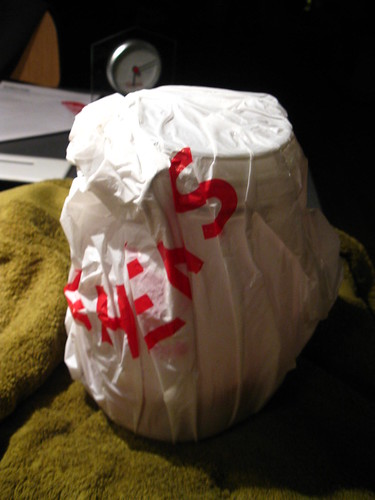
Close the lid, but not airtight. This should be done very quickly once you have mixed the yeast with the rice, the idea being you should keep it as warm as you can. We used a rubber band to close the lid of the container we got from Ikea instead of the lever that comes with it. Then we wrapped it up first with a plastic bag, then a thick towel around it, then another plastic bag and we set it near the biggest heater in the house. Then wait for about 3 days before you open it.
This was the second layer after we removed the outermost plastic bag:
Then the final layer:
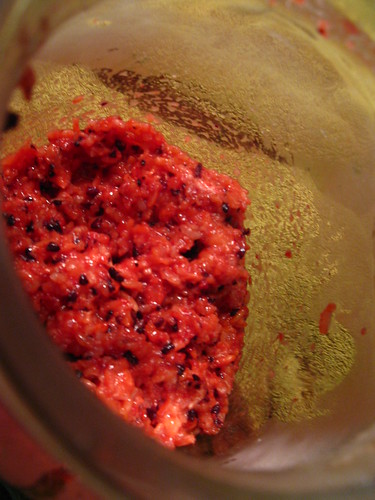
Then the finished product, looking steamy and warm:
Can you see the fermented wine?
I decided it can sit another two days since Sweden has been -2 these past few days so I wrapped it up again and set it back and today this is how it looks like:
So we can declare it a successful project for this time :)


i know this hahah. I just eat on lunch my friend give it to me
ReplyDelete