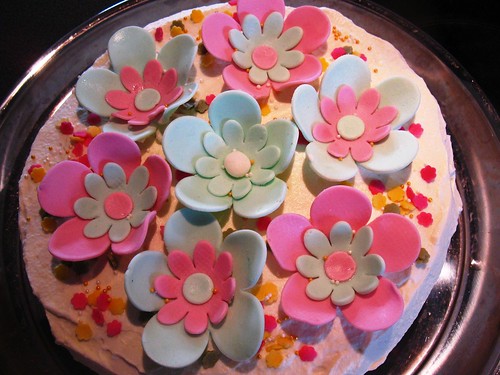
I took lotsa of pictures of it so this will be a long post laden with illustrations and here's the first one:
It received raving feedbacks from my nice friends but you should try it for yourself to really know :)
Ingredients for Marshmallow Fondants (from About. com, they provide very detailed steps to make it. I've reduced the recipe by halved and still have enough paste left over to cover another 23 cm cake with flowers)
2 cups of mini marshmallows (not packed tightly)
2 cups powdered sugar, plus extra for dusting
1 tablespoon water
Food coloring, red and green or your choice
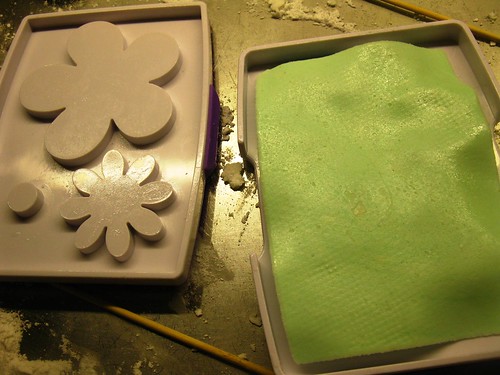
Fondant flower stamp, I got mine in Singapore from Phoon Huat
Steps
- Place the marshmallows and water in a deep bowl and microwave on high for about 1 minute. During the process they will expand till they look almost they are going to flow out of the bowl (if its too small) but they shrink back almost immediately when you take them out to look like this:
- Use a rubber spatula to stir until they are smooth and all the marshmallows is smooth and free from lumps. If there are some marshmallows not completely melted, microwave it again for 30 seconds and stir again. If you plan to make them with just one color you can add the food coloring now or later if you plan to have more colors.
- Add the powdered sugar gradually and mix into the marshmallows until you cannot mix in anymore. I probably used about 1 3/4 cup of sugar and that was enough.
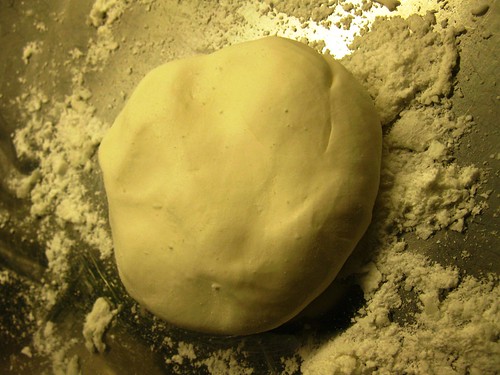
- Use the remaining sugar to dust your work surface generously and scrap out the mixture and begin kneading with your powdered hands like how you will work a normal dough until it becomes smooth like this, your first marshmallows fondant:
- Divide up the dough according to the colored portion you intend to have, for me I divided into three parts, and colored two of them with red and green respectively. For this stage of coloring, put on some latex gloves first to avoid staining your hands. Add the coloring by drops and knead it in evenly (this may take some time as you stretch and blend the dough for the color to be even).
- Once your colored fondant is ready, rolled them out into thin sheets according to your mould's instructions and cut the flower shapes out.
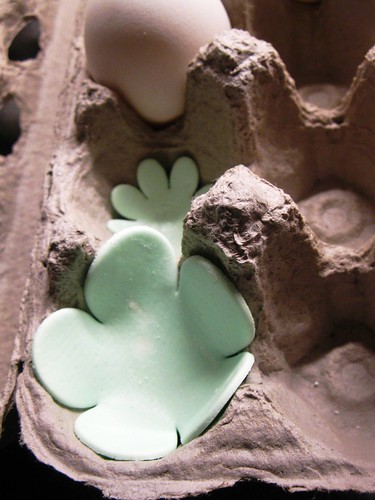
- Place the cut-out fondants in an egg carton to help form its shape and leave it overnight to harden. Marshmallows fondants are a bit flexible and will not harden until its brittle.
- I use water to stick the layers together so you can try doing that too or accordingly to your creativity and mould. Let it dry and harden in time before use!
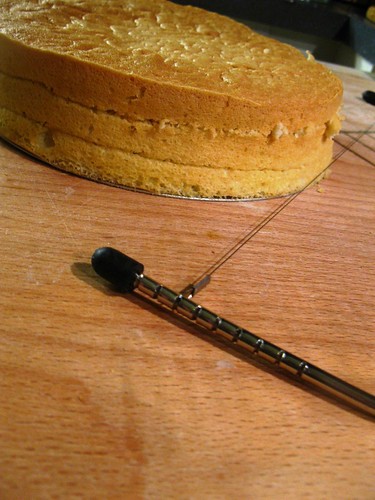
Lemon Peach Mousse Cake(from Alex Goh's Baking Codes)Ingredients- Sponge cake as per my previous recipe from here. However, after cooling, instead of slicing into two layers, slice it equally into three layers. I find the wire sawing gadget Johan bought for me from Ikea to work very well for such needs and it's not expensive and comes with some pipping bags and tips too:
- 50g lemon juice- 70g sugar- 1 egg yolk- 1.5 tablespoon gelatin powder- 70g water- 250g whipped fresh cream- half of a can of peaches, diced, the other half sliced thinly- 150g whipped fresh cream for topping/covering the cake
Steps- Cook the lemon juice and sugar in a small pot until it boils and pour it into the bowl containing the egg yolk, mixing it until well blended. Return to the pot to continue cooking for a while.
- Premix the gelatin powder and water and melt it in a bowl over the pot of lemon mixture. Add it to the lemon mixture and mix until well-combined.
- Let it cool to about 30 degrees celsius over cool water. If you do not have a suitable thermometer, do like what I do, test it with your finger. If it is cool enough to touch, you can add in the whipped cream and diced peaches. Mix well until evenly blended.
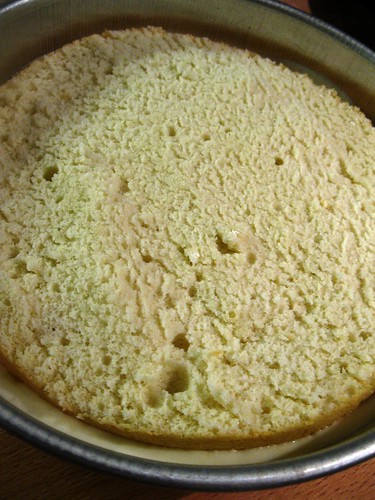
- Now you are ready to assemble your cake. Using the same cake form (preferable with a removable bottom) you use to make the sponge cake, place the bottom later on the mould first:
- Pour half the lemon mousse mixture over the cake and placed half the sliced peaches on top.
- Top with the second layer of cake and pour the remaining mousse on top, along with the rest of the peach slices.
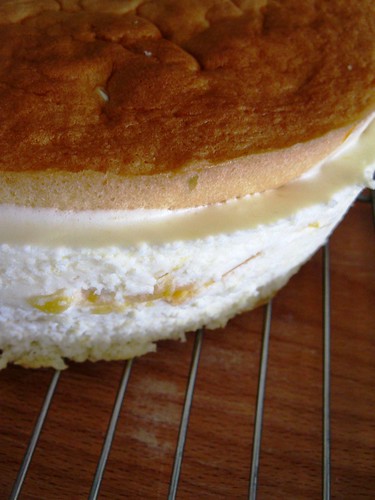
- Lastly, top with the top layer of the cake and keep it refrigerated (I kept it overnight) until set. Which then looks like this:
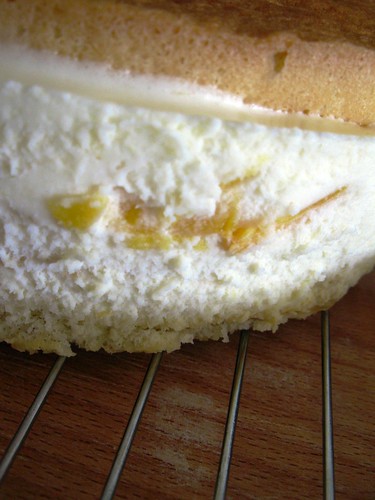
- If the mousse layer extends out too much from the cake circumference, you can do some tidying up by slicing the excess off (and tasting it of course, Johan's the man for this job). This is so it looks neat when you slather on the rest of the whipped cream later:
- And this is the cake covered in snowy white cream:
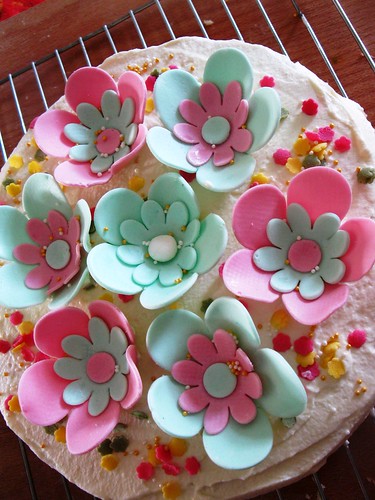
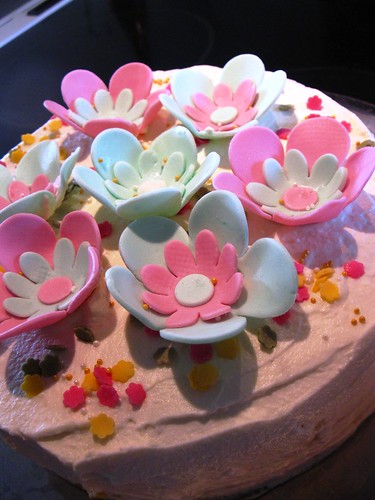
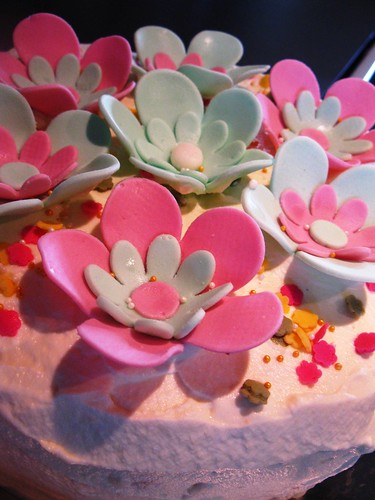
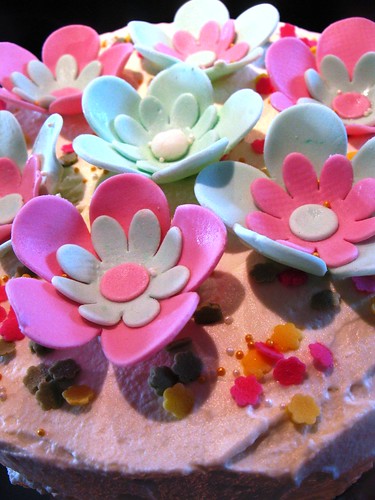
- And so the last part is the fun part - decorating! This I wouldn't suggest how you can do it because everyone has their own style but this is just a 'few' picture of my first very pretty cum tasty cake:
Last but not least, remember to share the cake! They always taste better when enjoyed in company (and a cup of tea).





så fina tårtan!! de ser riktigt gott ut ;d
ReplyDeleteIncredible, thank you!
ReplyDelete